How to Attract Bees and Butterflies to Your Garden
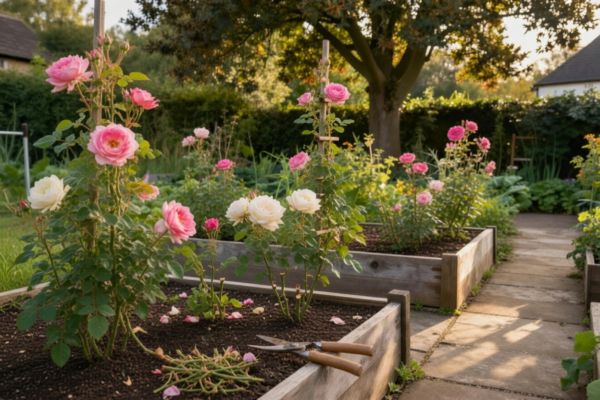
If you want more bees and butterflies in your garden, start with flowers. Then go a step further. The gardens that attract the most pollinators don’t just look pretty for two weeks in June; they offer food, shelter and nesting places across the year. This guide is for UK gardeners with borders, lawns, patios, balconies,…